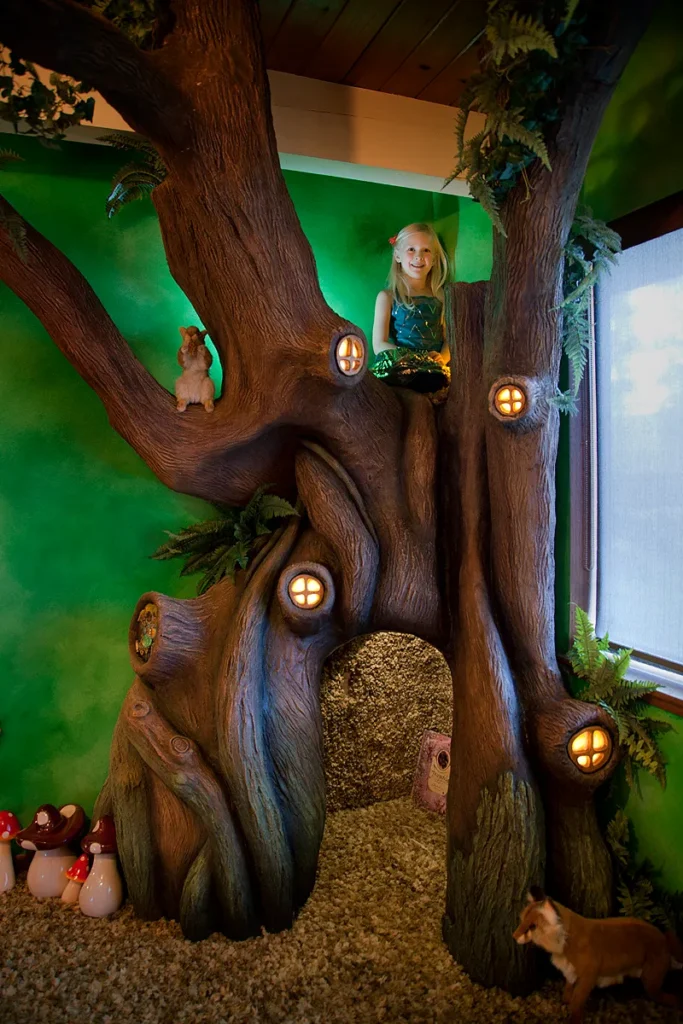
This enchanted tree nook brings storytime to life with soft lights, whimsical details, and a dreamy secret space made for curling up with a good book.
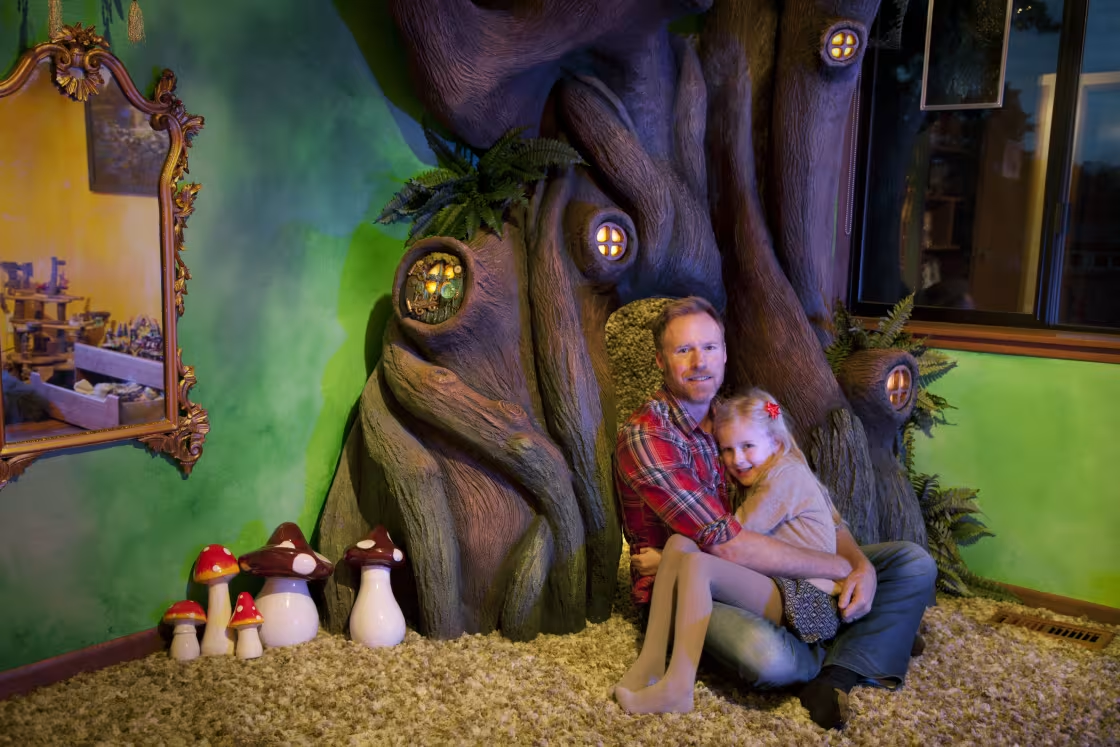
Imagine climbing into your own personal magical tree, not outside, but right in your bedroom. That’s exactly what one imaginative and incredibly dedicated dad built for his daughter, Lia, turning her room into a fairytale–worthy hideaway straight out of a storybook.
He designed and built a cozy, unforgettable tree reading nook that seems like it stepped out of a fantasy novel. Let’s dive into what makes this nook so enchanting, and how it came to life.
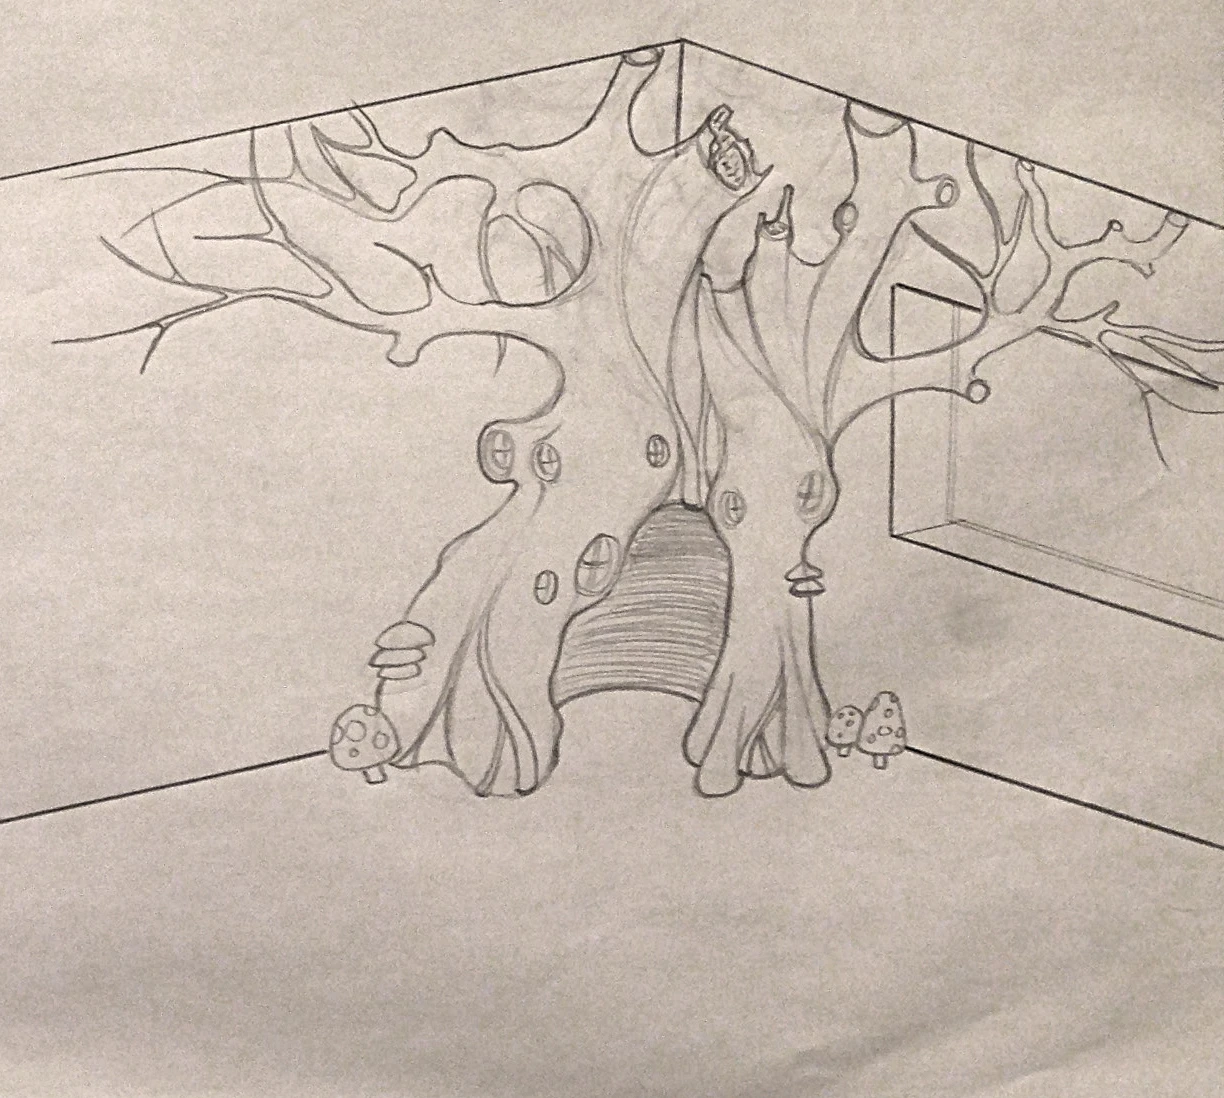
Step One: A Dream Takes Root
Rob Adams, a video-game artist from Bellevue, Washington, had a simple but bold inspiration: his six-year-old daughter said she wanted a “fairy tree” in her bedroom. Unlike plenty of busy, stressed parents, he didn’t just smile and nod… he took on the challenge.
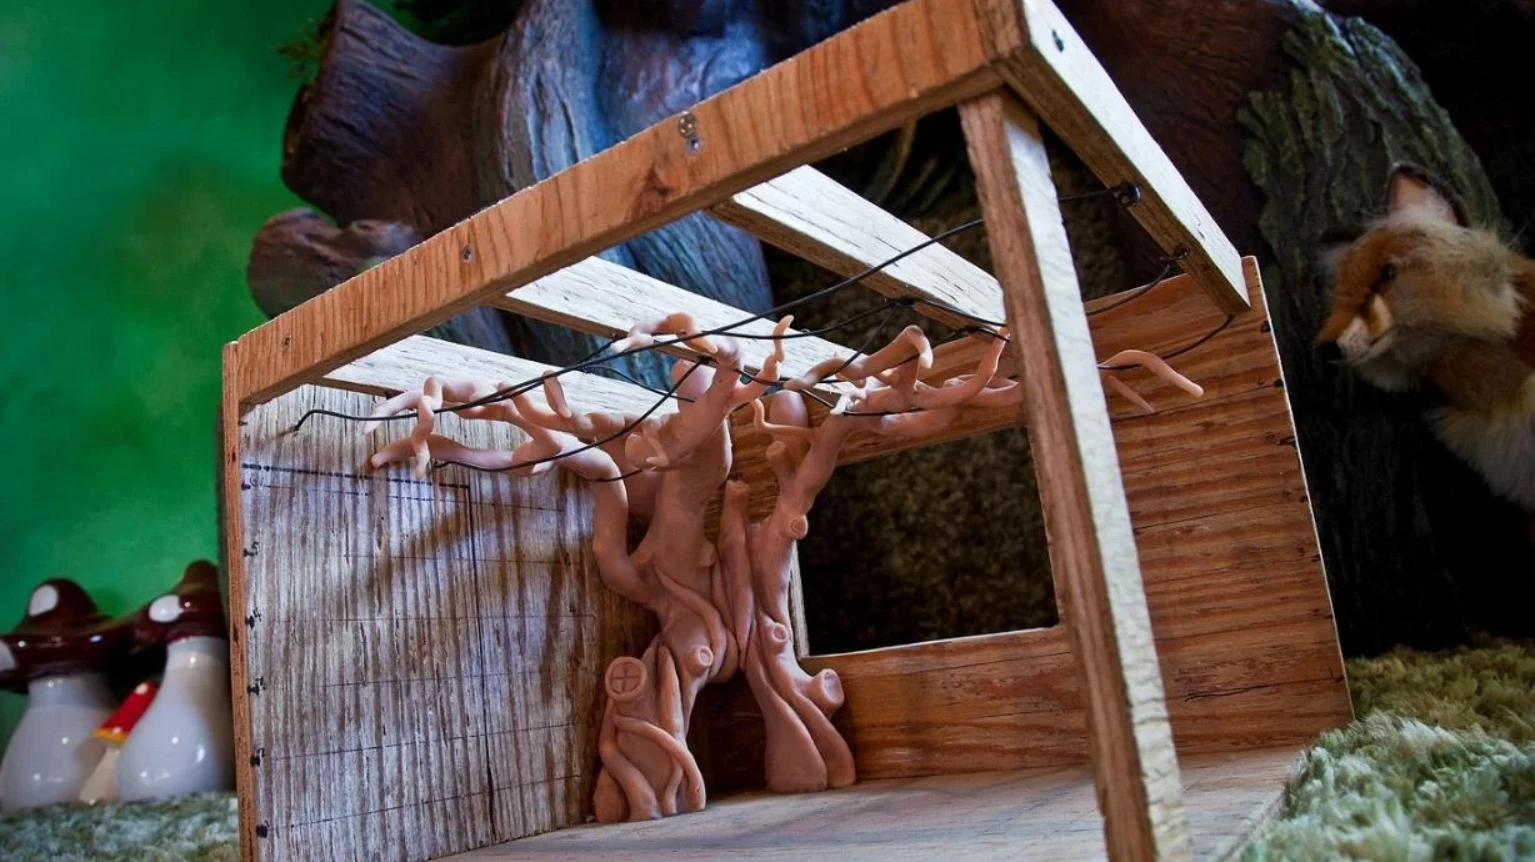
As a kid, he’d dreamed of treehouses with swinging walkways and star-filled skies, so the project combined his childhood fantasies with his grown-up skills. He started with a sketch, then made an impressively detailed 1:12 scale model using Sculpey clay and plywood. He even baked parts in the oven to harden them, because, yes, this was that serious.
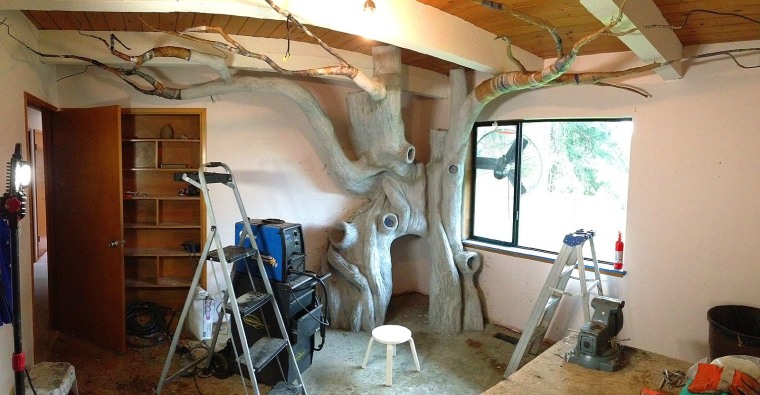
Building Branch By Branch
Once he had the model, Rob transferred the outlines to the bedroom wall. He used steel rebar and rods, the same kind of stuff you might see at a construction site, to weld the basic structure.
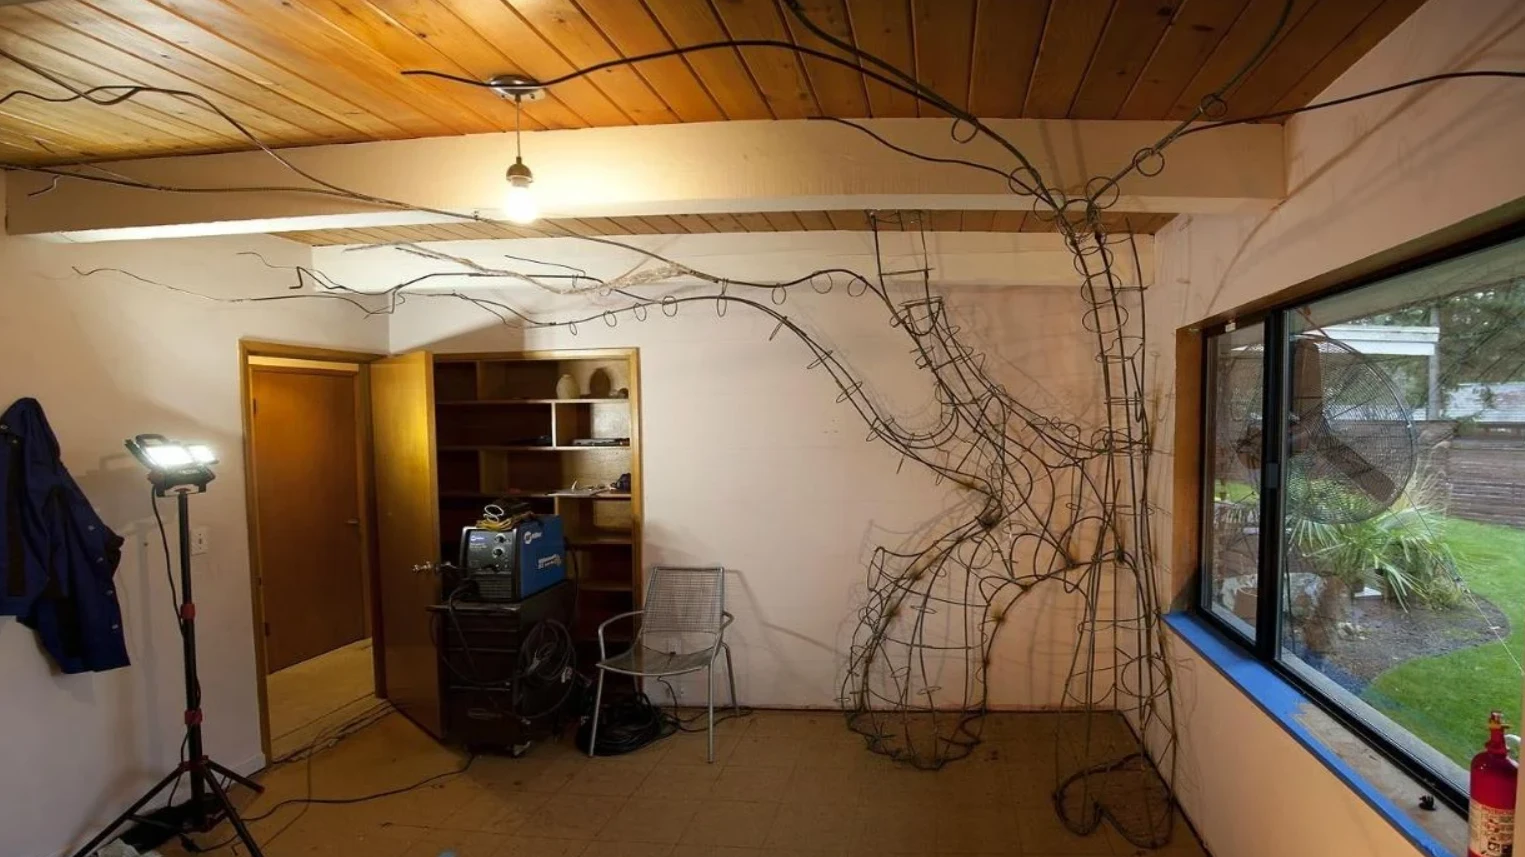
He worked hard to make sure it was strong, strong enough for three adults, even though the tree was meant for a child’s world.
Then, he added a layer of expanded metal lath to the branches and wired in tiny waterproof 12-volt landscape lights for the “fairy windows” and door. To give the trunk and branches lifelike texture and shape, he used concrete on the inside and papier-mâché on the outside.
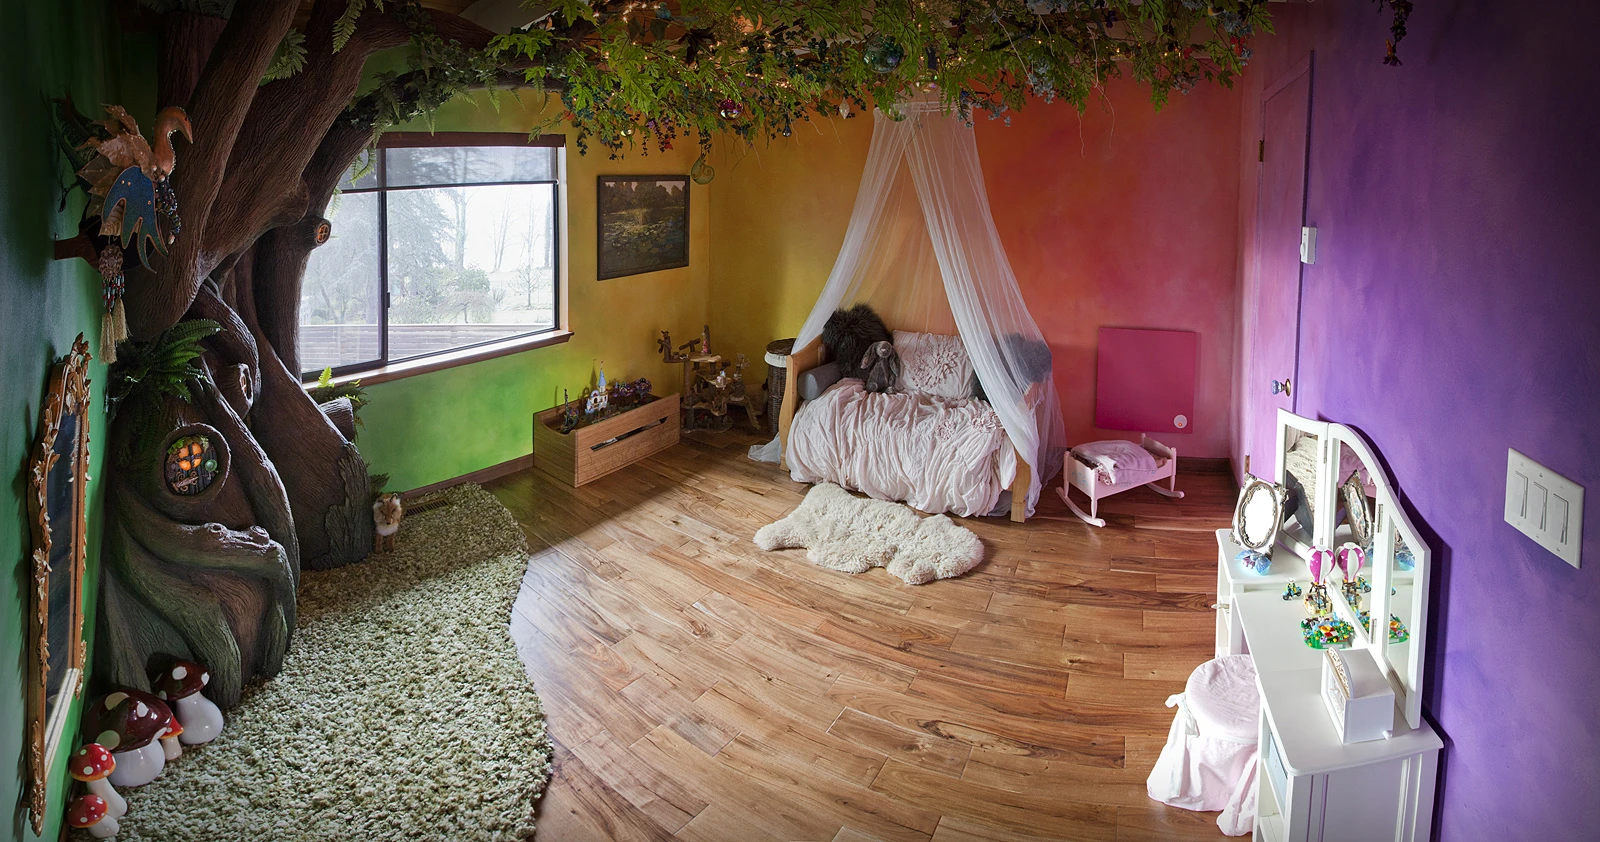
Painting & Decorating: Bringing the Forest to Life

With the basic structure in place, Rob moved on to painting. He blended different shades to make the tree feel organic and alive, not just brown, but rich tones, like a real old tree’s bark.
Next came the fun, decorative touches: silk branches, plastic ferns, tiny birds, butterflies, hand-blown glass ornaments, and lush foliage for the treetop.
Time for Windows and Lighting
One of the sweetest features? The little fairy windows cut into the trunk. Rob used watercolor paper for “glass,” giving them a delicate, dreamy look. He also installed a string of Christmas lights around the branches, all hooked up to a dimmer so the glow can go from twinkle-magical to mellow and calm.
Inside the tree nook, there’s a tiny 12-volt reading light wired on its own dimmer switch, perfect for storytime adventures without lighting up the whole room.
A Cozy Kingdom
At the base of this tree is a plush, green carpet that mimics moss, creating a soft, welcoming floor for sitting or curling up. Inside the trunk is a snug sitting area, a little kingdom just for Lia, full of comfort and imagination.
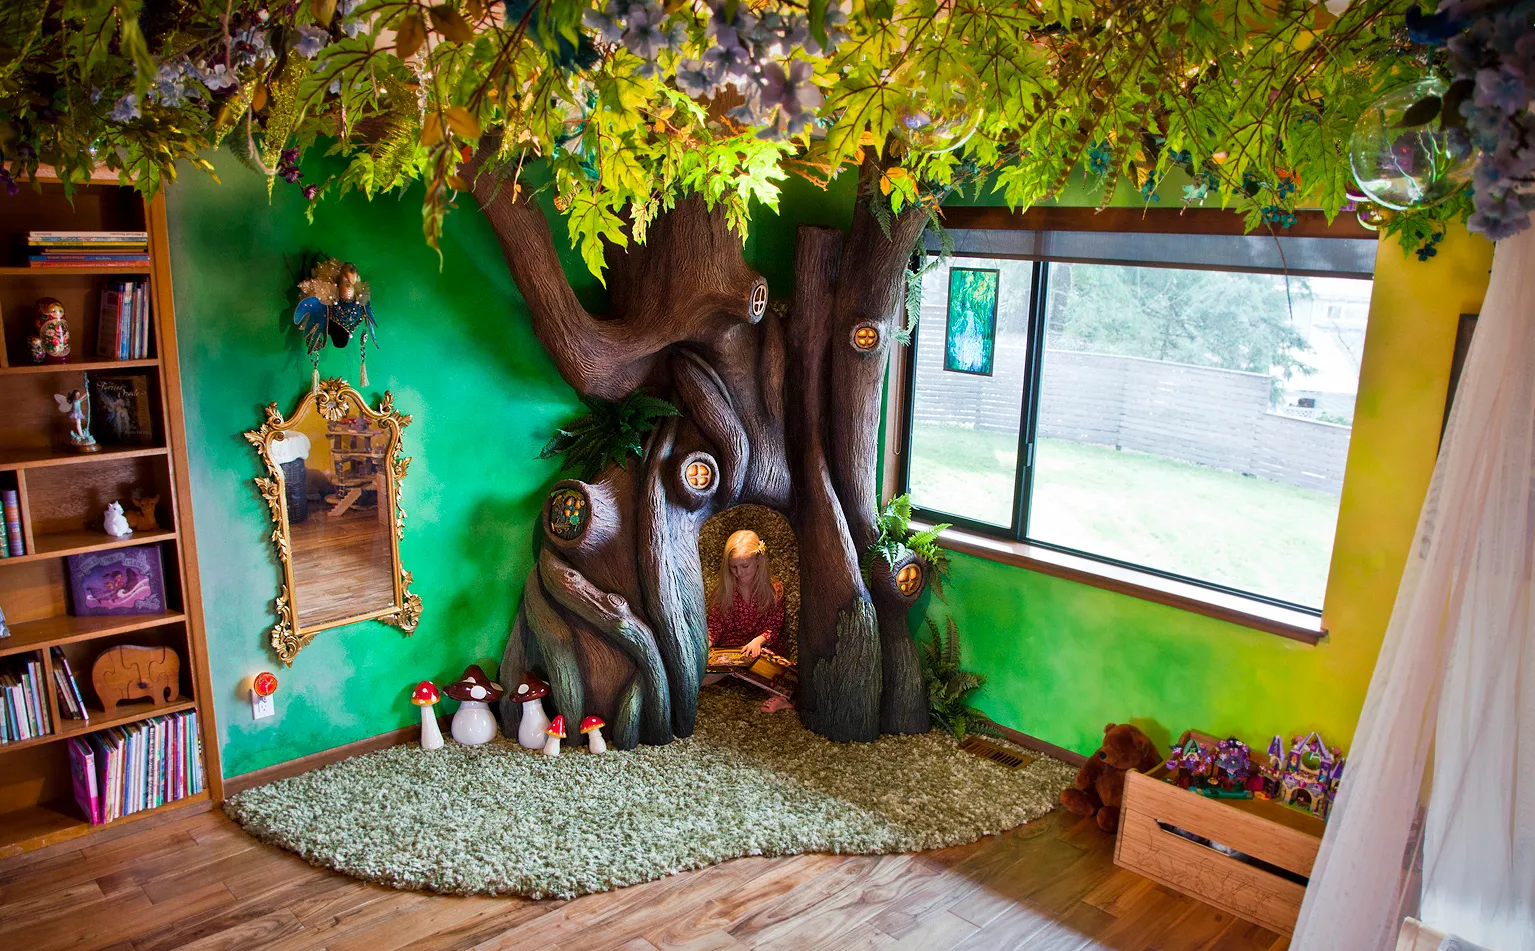
This nook doesn’t just feel like a reading corner. It is a personal hideaway, where she can retreat with her favorite books, play imaginatively, or just sit and daydream under her very own forest canopy.
The Cost and the Process
Let’s talk cost and commitment. Rob estimates it took about 350 hours spread over 18 months to complete the tree. When it comes to material costs, they came in at around $4,250.
What to Learn
Even if you don’t want to weld your own steel frame or build an entire tree, this project can spark ideas for your own space. Here are a few lessons to borrow:
Make sure to start small. Without the model first, this project would not have been possible. A scale model is essential in planning your space and figuring out your options.
Remember sturdiness. A strong material base will help to ensure the structure you create is safe and durable.
Don’t be afraid of different materials! It might feel strange to hop around different materials, but as this project proved, sometimes you need different properties and textures to end up with a really great final project.

And finally, one of the most important lessons is to document your process. There are photos all the way along this pair’s construction journey, and it means they have memories to look back on forever.
For the Non DIY Dads
Now, Rob was fortunate enough to have the skills to complete an insane project like this. Not all of us are so lucky! I mean, come on, welding? Concrete? It’s a lot.
So what do you do if your kid (or your partner, or you) wants a fairy tree in the house?
Fortunately, there are a few non DIY options out there. From the Storytelling tree and benches by Millhouse, to the Coastway Tree-like shelf (okay, it’s just a nice shelf).

Millie Ramm
Millie has been writing since she was a child, and has spent more time with her nose in books than anywhere else. She has been ghostwriting novels and editing for the past few years, and when not working she is curled up with her cats, looking for her next read.